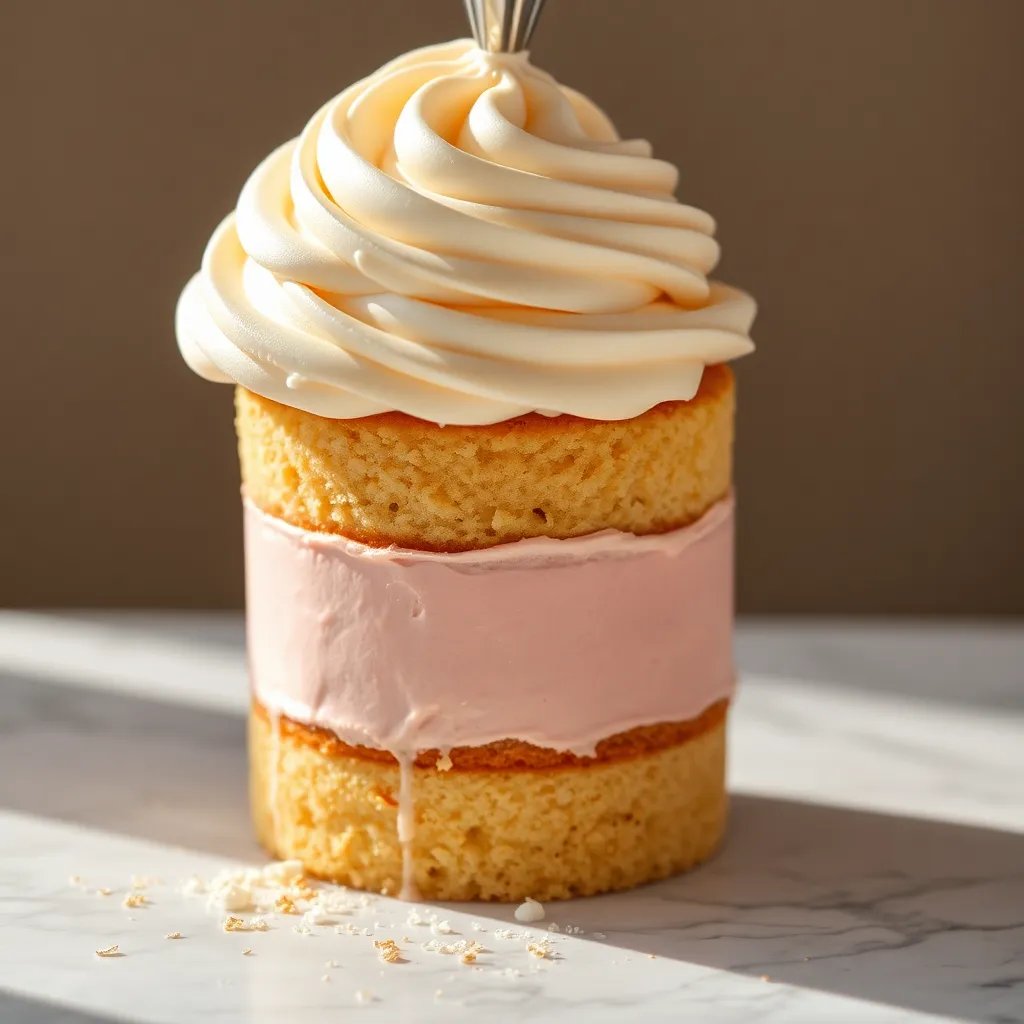
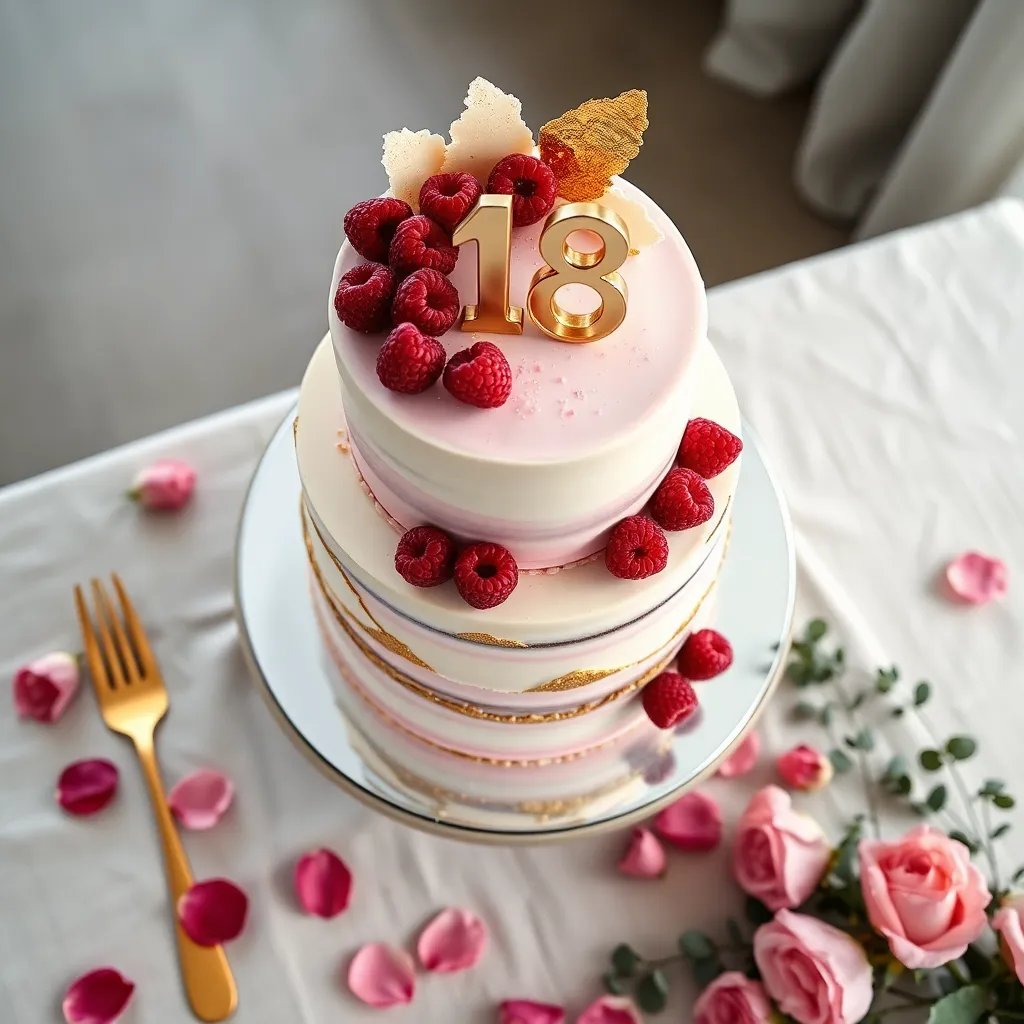
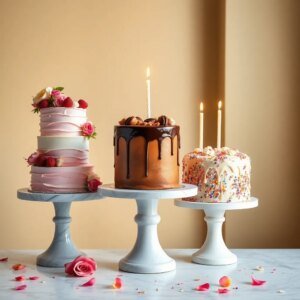
Turning 18 is a milestone worth celebrating with a cake that looks as unforgettable as the moment itself. This towering three-layer vanilla bean cake with silky champagne buttercream is elegant, modern, and crowd-pleasing — perfect for that “wow” reveal when the candles come out.
In this article, you’ll find the full recipe, plus styling ideas, storage tips, healthier swaps, common mistakes to avoid, and seven creative variations so you can tailor the cake to the birthday star’s personality — from glam gold-leaf finishes to fruity, naked-cake vibes.
What Makes This Recipe So Good
- Showstopping presentation: Three tall, even layers stack into an Instagram-worthy centerpiece with minimal decorating skill required.
- Grown-up flavor: Real vanilla bean and a hint of champagne in the buttercream feel celebratory and sophisticated — perfect for an 18th milestone.
- Crowd-friendly: Generously serves 12–16 guests, making it ideal for a birthday party.
- Make-ahead friendly: Cake layers and frosting can both be prepped days in advance, easing party-day stress.
- Endlessly customizable: The vanilla base works with any color, theme, or topping you want to feature.
Ingredients
- 3 cups (375g) cake flour, sifted
- 2 ½ teaspoons baking powder
- ½ teaspoon fine sea salt
- 1 cup (227g) unsalted butter, softened to room temperature
- 2 cups (400g) granulated sugar
- 4 large eggs, room temperature
- 2 teaspoons pure vanilla extract
- 1 vanilla bean, seeds scraped (or 1 extra teaspoon vanilla bean paste)
- 1 cup (240ml) whole milk, room temperature
- ¼ cup (60ml) sour cream, room temperature
- 1 ½ cups (340g) unsalted butter, softened (for buttercream)
- 5 cups (600g) powdered sugar, sifted
- 3–4 tablespoons champagne or sparkling cider (non-alcoholic option)
- 1 teaspoon vanilla extract (for buttercream)
- Pinch of salt
- Edible gold leaf, sprinkles, or fresh berries, for decorating (optional)
- Birthday candles or “18” cake topper
Step-by-Step Instructions
- Prep your pans: Preheat oven to 350°F (175°C). Grease three 8-inch round cake pans, line bottoms with parchment, and dust with flour. Do not skip the parchment — it guarantees clean release.
- Whisk dry ingredients: In a medium bowl, whisk together the cake flour, baking powder, and salt until evenly combined. Set aside.
- Cream butter and sugar: In a stand mixer with the paddle attachment, beat the softened butter and sugar on medium-high for 4–5 full minutes until pale and fluffy. This step builds the cake’s tender crumb.
- Add eggs and vanilla: Add eggs one at a time, mixing well after each. Scrape the bowl, then beat in vanilla extract and scraped vanilla bean seeds.
- Combine wet and dry: Whisk the milk and sour cream together. With the mixer on low, alternate adding the flour mixture and milk mixture in three additions, beginning and ending with flour. Mix only until just combined to avoid a tough cake.
- Bake the layers: Divide batter evenly between the three pans (a kitchen scale helps). Bake for 24–28 minutes, until a toothpick comes out with a few moist crumbs. Cool in pans 10 minutes, then turn out onto a wire rack to cool completely.
- Make the buttercream: Beat the softened butter for 3 minutes until creamy. Gradually add powdered sugar, then champagne, vanilla, and salt. Beat on medium-high for 4 minutes until light and silky.
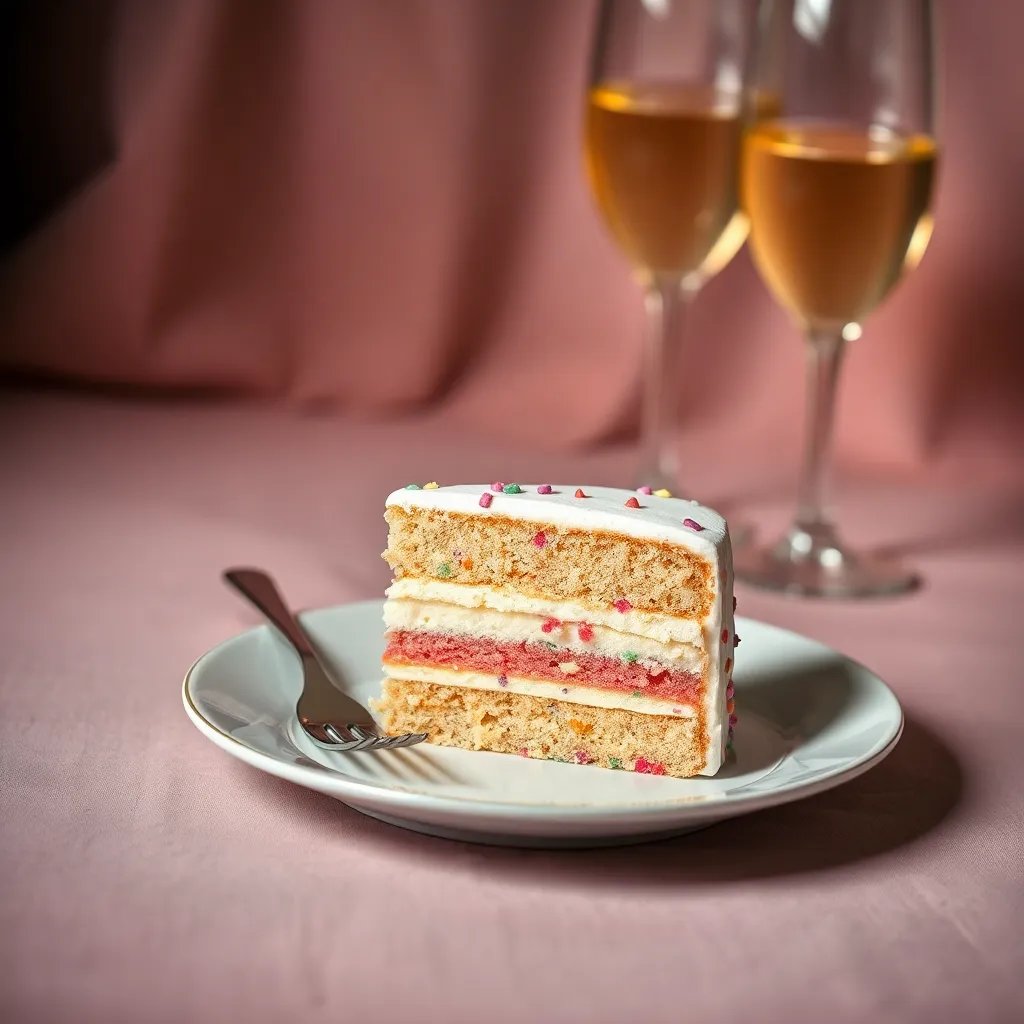
- Level and stack: Use a serrated knife to trim any domes off the cooled layers. Place the first layer on a cake board or stand and spread about ¾ cup buttercream evenly over the top. Repeat with the second layer, then top with the third.
- Crumb coat and chill: Apply a thin layer of buttercream over the entire cake to lock in crumbs. Chill for 20 minutes before applying the final smooth coat.
- Decorate and serve: Finish with the remaining buttercream, then embellish with edible gold leaf, sprinkles, fresh berries, and an “18” topper. Slice with a warm, clean knife for picture-perfect pieces.
Storage Instructions
- Refrigerator: Store frosted cake in an airtight cake container or loosely tented with plastic wrap for up to 4 days. Bring slices to room temperature before serving.
- Freezer: Wrap unfrosted layers tightly in plastic wrap and foil; freeze up to 2 months. Frosted slices can be frozen individually for up to 1 month.
- Reheating: No reheating needed — let refrigerated slices sit at room temp for 30 minutes so the buttercream softens and the crumb tastes fresh-baked.
- Meal prep tip: Bake cake layers up to 2 days ahead, wrap tightly, and refrigerate — chilled layers are actually easier to stack and frost.
Health Benefits
- Real vanilla bean: Contains natural antioxidants and offers complex flavor without artificial additives.
- Whole milk and eggs: Provide calcium, protein, and fat-soluble vitamins that support energy and muscle function.
- Portion-friendly: A tall, rich cake means smaller slices satisfy, helping with mindful indulgence.
- Homemade control: Making it from scratch lets you skip preservatives, artificial colors, and stabilizers found in store-bought cakes.
Common Mistakes to Avoid
- Cold ingredients: Cold butter, milk, or eggs won’t emulsify properly, leading to a dense cake. Set everything out at least 1 hour before baking.
- Overmixing the batter: Once the flour goes in, mix only until just combined. Overmixing develops gluten and creates a tough, gummy texture.
- Skipping the crumb coat: Going straight to a thick frosting layer traps crumbs in the final coat. Always crumb coat and chill first.
- Uneven layers: Eyeballing the batter creates lopsided cakes. Weigh each pan on a kitchen scale for perfectly even layers.
- Frosting a warm cake: The buttercream will melt and slide. Cakes must be completely cool — ideally chilled — before frosting.
Recipe Variations
- Chocolate lover’s twist: Replace ½ cup of cake flour with unsweetened cocoa powder and pair with chocolate ganache between layers.
- Funfetti party cake: Fold ¾ cup rainbow sprinkles into the batter and top with extra sprinkles for a nostalgic, playful 18th vibe.
- Strawberry shortcake style: Layer with fresh whipped cream and macerated strawberries instead of buttercream for a “naked cake” look.
- Gluten-free version: Swap cake flour for a 1:1 gluten-free baking blend with xanthan gum. Add 1 extra tablespoon of milk for moisture.
- Tropical coconut-mango: Replace milk with coconut milk, add 1 teaspoon coconut extract, and fill with mango curd between layers.
- Black-and-gold glam: Tint the buttercream charcoal black with gel food coloring and finish with edible gold leaf and gold sprinkles.
- Lemon-elderflower elegance: Add 2 tablespoons lemon zest to the batter and swap champagne in the buttercream for elderflower cordial.
FAQ
Can I make this cake without alcohol?
Absolutely. Substitute sparkling cider, sparkling grape juice, or even ginger ale for the champagne in the buttercream. You’ll still get the celebratory flavor and silky texture without any alcohol.
How far in advance can I make an 18th birthday cake?
You can bake the layers up to 2 days ahead (wrapped and refrigerated) or 2 months ahead (frozen). The fully frosted cake holds beautifully in the fridge for up to 24 hours before the party — just let it sit at room temp for 30 minutes before serving.
What size cake do I need for an 18th birthday party?
This three-layer 8-inch cake serves 12–16 generously. For larger parties of 25+, double the recipe and bake in 10-inch pans, or make a second sheet cake to serve alongside.
Can I use boxed cake mix instead?
Yes — use two boxes of high-quality white or vanilla cake mix, prepared according to package directions, and swap in milk for water and melted butter for oil to get a richer “doctored” flavor. The homemade buttercream still makes it feel special.
How do I get smooth frosting without professional tools?
After applying the final coat, dip a flat metal bench scraper or offset spatula in hot water, wipe dry, and glide it around the sides of the cake while turning a cake stand. Repeat a few times for a clean, polished finish.
What’s a fun way to make this 18th birthday cake more personal?
Add the birthday person’s favorite candy bar pieces crumbled on top, pipe their name in gold buttercream, or stick a personalized acrylic “18” topper into the center. Photos printed on edible wafer paper are also a popular modern touch.
In Conclusion
An 18th birthday deserves a cake that feels as meaningful as the milestone — and this vanilla bean layer cake with champagne buttercream delivers elegance, flavor, and a major “wow” factor without requiring pastry-school skills. It’s the kind of cake guests photograph before they take a bite.
Whether you keep it classic with gold leaf and fresh berries or go bold with a tropical, funfetti, or black-and-gold variation, this recipe is your reliable canvas. Bake it, decorate it, and watch the birthday star light up — happy 18th, and happy baking!
Printable Recipe Card
Want just the essential recipe details without scrolling through the article? Get our printable recipe card with just the ingredients and instructions.
Leave a Reply